Spring Chicken Care: 10-Step Checklist
Get your backyard chickens ready for spring with this 10-step care checklist. Covers coop cleaning, parasite checks, feeding tips, and adding new chicks.
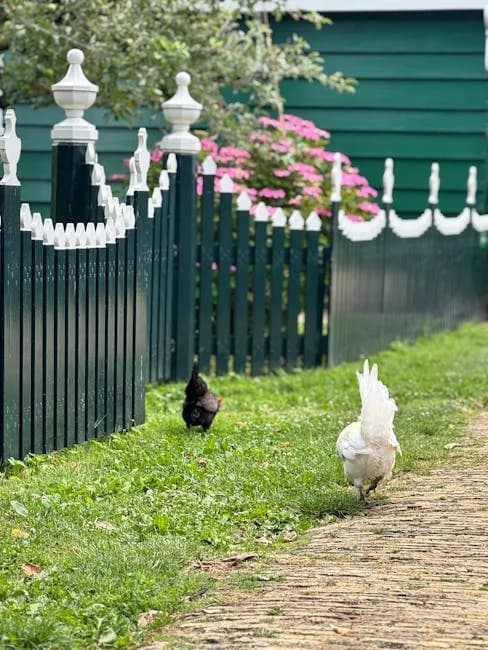
Spring is the most exciting time of year for backyard chicken keepers. Egg production ramps up, your flock gets more active, and it's the perfect season to expand your coop or add new chicks. But before you sit back and enjoy the warmer weather, there's some important prep work to do. Here's your complete spring checklist to keep your flock healthy and thriving.
What You'll Learn
- •1. Deep Clean the Coop
- •2. Inspect and Repair the Coop and Run
- •3. Check Your Flock for Parasites
- •4. Evaluate Each Bird's Health
- •5. Adjust Your Feeding Routine
- •6. Prepare for Increased Egg Production
- •7. Set Up for New Chicks
- •8. Start Free-Ranging Again
- •9. Update Your Predator Defenses
- •10. Plan Your Garden Around Your Flock
- •Frequently Asked Questions
1. Deep Clean the Coop
Winter coops take a beating. Months of reduced ventilation, extra bedding, and moisture buildup mean your coop needs a thorough spring cleaning. This isn't a quick spot clean; it's a full reset.
Here's the process:
Strip out all the old bedding. Every last bit. If you've been using the deep litter method through winter, now's the time to remove it all and start fresh. That composted bedding is gold for your garden, by the way.
Scrub all surfaces with a mix of equal parts white vinegar and water. Pay special attention to roosts, nest boxes, and corners where droppings accumulate. Some keepers use a diluted bleach solution (1 tablespoon per gallon of water) for a deeper sanitize, but make sure everything dries completely before adding new bedding.
Let the coop air out with doors and windows open for a full day if weather permits. Sunlight is a natural disinfectant, and fresh air helps eliminate lingering ammonia smells from winter.
Lay down fresh bedding once everything is dry. Spring is a great time to switch bedding types if your current setup isn't working. Pine shavings are the most popular all-around choice.
2. Inspect and Repair the Coop and Run
Winter storms, snow weight, and freezing temperatures can cause damage you might not have noticed. Do a thorough walk-around inspection:
Check the roof for leaks, loose shingles, or sagging spots. Even small leaks create moisture problems that lead to respiratory issues in your flock.
Examine hardware cloth and fencing for rust, holes, or loose connections. Predators are more active in spring as they feed growing families, so gaps that seem minor can become serious security risks.
Test door latches and locks. Raccoons are smart enough to open simple latches, so make sure your predator-proof hardware is still in good shape.
Look at the run floor. Winter can create low spots that collect standing water. Fill them in with sand or gravel to improve drainage. Standing water breeds bacteria and attracts mosquitoes.
Check roosts for splinters or cracks. Sand down rough spots that could injure feet. If roosts are warped or cracked from moisture, replace them. A 2x4 with the wide side up is the standard that works for most breeds.
If you're thinking about upgrading your coop this spring, check out our guide on how to build a chicken coop for design ideas and material lists.
3. Check Your Flock for Parasites
Spring warmth wakes up more than just your garden. Mites, lice, and internal parasites all become more active as temperatures rise. A thorough parasite check should be near the top of your spring to-do list.
External parasites: Pick up each bird and part the feathers, especially around the vent, under the wings, and at the base of the tail. You're looking for tiny crawling bugs (lice), clusters of eggs at the base of feathers (nits), or red/black specks on the skin (mites).
Northern fowl mites and red mites are the most common spring offenders. Red mites hide in coop crevices during the day and feed on birds at night, so check roost joints and cracks in the wood too.
Treatment options: Poultry dust (permethrin-based) applied directly to birds works for active infestations. Diatomaceous earth in dust bathing areas helps prevent problems before they start. If you find red mites in the coop, you'll need to treat both the birds and the coop structure.
Internal parasites: Spring is a good time to consider deworming, especially if your flock free-ranges. Roundworms and capillary worms are the most common. Look for signs like weight loss despite good appetite, pale combs, or a drop in egg production. A fecal float test from your vet gives you a definitive answer on worm load.
Dust bath maintenance: Make sure your flock has access to a good dust bathing area. This is their natural parasite prevention method. A mix of sand, plain soil, and a sprinkle of diatomaceous earth or wood ash works perfectly. If the dust bath area got compacted or muddy over winter, refresh it.
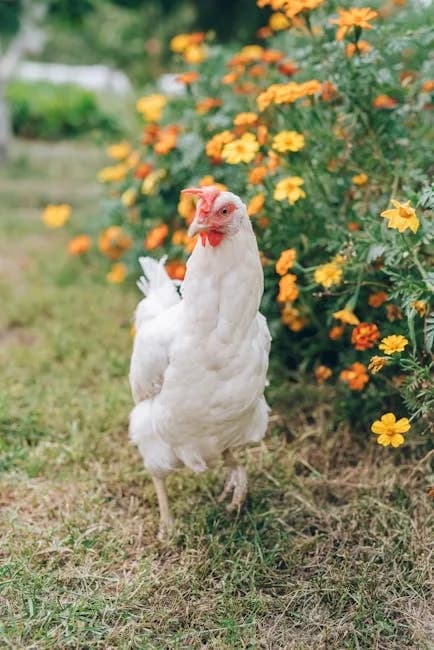
4. Evaluate Each Bird's Health
Spring is the perfect time for a head-to-toe flock health check. Winter can be hard on chickens, and problems that developed slowly might not be obvious until you look closely.
Check body condition. Feel the breastbone (keel) of each bird. You should feel some flesh covering the bone but still be able to locate it. If the keel feels sharp and prominent, the bird is underweight. If you can barely find it, the bird might be overweight.
Examine feet. Look for bumblefoot (a dark scab on the foot pad), scaly leg mites (crusty, raised scales on the legs), and overgrown nails. Heavy breeds like Wyandottes and Buff Orpingtons are more prone to bumblefoot.
Check combs and wattles. Frostbite damage from winter shows up as blackened tips on combs. Most mild frostbite heals on its own, but severely damaged tissue may need to be trimmed. Combs should be returning to a healthy bright red as laying ramps up.
Look at feather condition. Birds that went through a late fall molt should have fresh, full plumage by now. Bare patches, broken feathers, or dull coloring could indicate nutrition problems, parasites, or feather picking.
Watch behavior. Lethargy, hunched posture, discharge from eyes or nostrils, or wheezing are all red flags that warrant closer attention or a vet visit.
5. Adjust Your Feeding Routine
Your chickens' nutritional needs shift with the seasons. Here's how to adjust for spring:
Switch back to layer feed if you bumped up protein during winter or while birds were molting. Standard 16% protein layer feed is right for hens that are actively laying. Make sure you're providing a quality complete feed as the foundation of their diet.
Keep calcium available. Egg production increases significantly in spring as daylight hours grow. Hens need extra calcium to keep up with eggshell production. Offer oyster shell free-choice in a separate container so each hen can take what she needs.
Reduce scratch grains. If you upped the scratch during winter to help birds generate body heat, scale it back now. Scratch is high in calories and low in nutrition, and overweight hens lay fewer eggs. Keep treats to no more than 10% of their total diet.
Fresh greens are back. As your yard greens up, free-ranging chickens will start supplementing their own diet with grass, weeds, and insects. This natural foraging improves egg yolk color and overall nutrition.
Fresh water is critical. You're no longer fighting frozen waterers, but spring's warmer temps mean water gets dirty faster. Clean and refill waterers daily. Make sure your waterers are positioned in shaded areas as temperatures climb.
6. Prepare for Increased Egg Production
Spring's longer days trigger a natural increase in egg production. Most hens that slowed down or stopped laying during winter will start up again as daylight hours hit 14+ hours per day. Here's how to be ready:
Clean and refresh nest boxes. Replace bedding in all nest boxes and make sure you've got enough (one nest box for every 3 to 4 hens). Adding a few fake eggs or golf balls to nest boxes encourages hens to lay in the right spot.
Collect eggs more frequently. As production ramps up, check nest boxes at least twice daily. Eggs left sitting attract egg-eating behavior and can trigger broodiness in prone breeds like Silkies and Buff Orpingtons.
Watch for broody hens. Spring is prime broody season. If you want chicks, great. If you don't, you'll need to break the broodiness early. A wire-bottom cage elevated off the ground for 3 to 4 days usually does the trick. The cool air circulating under the hen helps lower her body temperature and break the hormonal cycle.
Track your production. Spring is a great baseline period for knowing what your flock can produce. Keep a simple egg count by day so you'll notice drops that might indicate health problems later.
For more on maximizing your egg harvest, check out our guide to raising chickens for eggs.
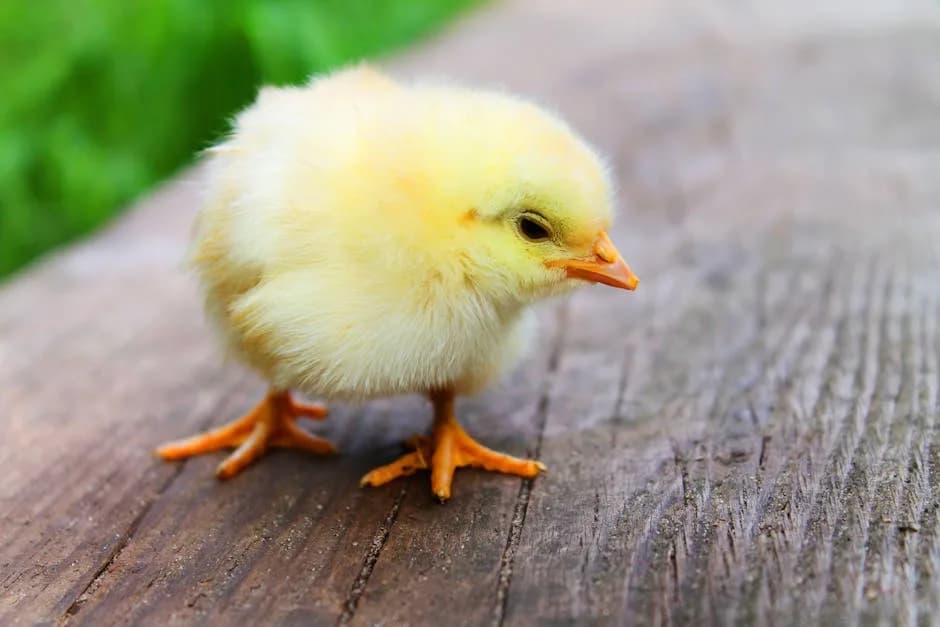
7. Set Up for New Chicks
Spring is the most popular time to add new birds to your flock, whether you're hatching eggs, buying day-old chicks from a hatchery, or picking up pullets from a local breeder.
If you're getting chicks:
You'll need a brooder setup ready before they arrive. The basics include a brooder box (a large plastic tote or stock tank works great), a heat source (heat plates are safer than heat lamps), chick starter feed (18-20% protein), and a small waterer with marbles or pebbles in the tray to prevent drowning.
Start the brooder at 95°F for the first week, then reduce by 5°F each week until chicks are fully feathered around 6 weeks. Our week-by-week chick raising guide walks through the entire process.
If you're adding to an existing flock:
Don't just toss new birds in with your established flock. That's a recipe for injuries and stress. New birds need a quarantine period of at least 2 weeks to make sure they're not carrying diseases, followed by a gradual introduction process.
Not sure how many to add? Our guide on how many chickens a beginner should start with can help you figure out the right flock size for your space.
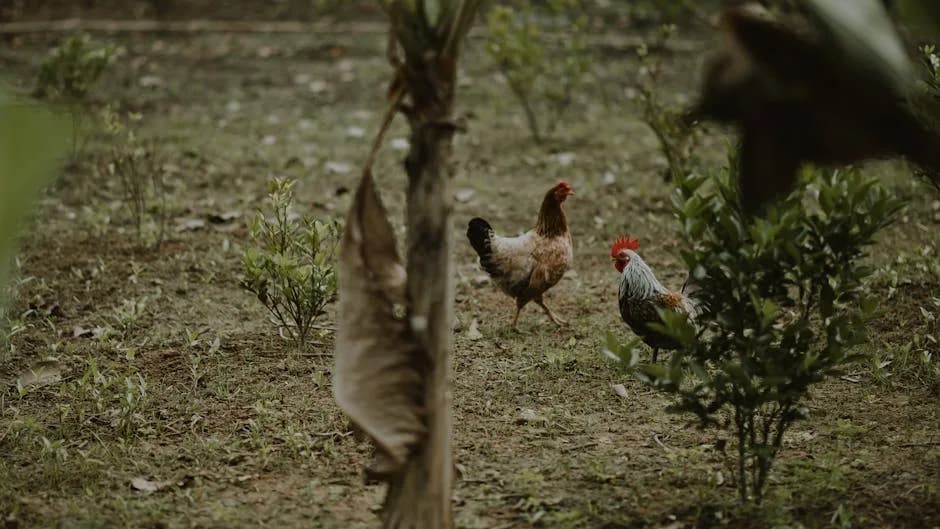
8. Start Free-Ranging Again
If you kept your flock confined during winter's worst months, spring is the time to gradually open things up. Free-ranging provides exercise, mental stimulation, natural pest control, and a nutritional boost from foraging.
Start slow. Let your flock out for a few hours in the late afternoon at first. They'll naturally head back to the coop as it gets dark, which makes the transition easier.
Supervise the first few sessions. After months of confinement, your birds might be rusty on predator awareness. Stay nearby until they settle into a routine.
Set boundaries. If you don't want chickens in your vegetable garden or flower beds, put up temporary fencing now, before they discover your seedlings. Chickens and gardens can coexist, but it takes some planning.
9. Update Your Predator Defenses
Spring brings increased predator activity. Hawks are nesting and feeding young. Foxes, raccoons, weasels, and snakes are all coming out of winter mode and looking for easy meals. Your flock is on the menu if you're not prepared.
Walk your perimeter. Look for new holes under fences, gaps where animals could squeeze through, or spots where hardware cloth has pulled loose.
Trim back overgrowth. Tall grass and brush near the coop provides cover for predators sneaking up on your flock. Keep a clear buffer zone around the coop and run.
Check overhead protection. Hawks are the number one daytime threat for free-range flocks. Overhead netting, covered runs, and natural cover (bushes, trees) give your birds places to hide.
Lock up at night. Always, without exception. An automatic coop door is one of the best investments you can make. It closes at dusk and opens at dawn, so your flock is protected even if you forget. Read our full guide on protecting your chickens from predators for more strategies.
10. Plan Your Garden Around Your Flock
Spring is when gardens and chickens either become best friends or worst enemies. With some planning, they can work together beautifully.
Chicken-safe plants to grow: Herbs like oregano, thyme, and mint are great for chickens and can help repel insects naturally. Sunflowers provide seeds they love in fall. Clover and alfalfa make excellent cover crops for chicken runs.
Keep chickens out of: New seedlings, tomato plants (leaves are toxic), rhubarb, and anything you're growing for yourself until it's established. Temporary poultry netting around garden beds is the simplest solution.
Compost partnership. Your coop cleanings make fantastic compost. Set up a compost bin near the coop for easy transfers. By fall, you'll have rich, ready-to-use garden soil.
Pest control. Chickens eat ticks, mosquito larvae, Japanese beetles, slugs, and dozens of other garden pests. Letting them free-range through your yard after you've protected your garden beds gives you free, organic pest control.
Frequently Asked Questions
When do chickens start laying again in spring?
Most hens resume laying when daylight reaches about 14 hours per day. In much of the U.S., that's between late February and mid-March. Some breeds are earlier than others. You'll notice a gradual increase rather than an overnight switch.
How often should I clean the chicken coop in spring?
Do one deep clean at the start of spring, then spot-clean weekly (remove droppings from roosts and nest boxes) and do a full bedding change every 2 to 4 weeks depending on flock size. More birds means more frequent changes.
Can I put my chickens outside in early spring?
Yes, as long as temperatures are above freezing and your coop is secure. Cold-hardy breeds like Wyandottes, Plymouth Rocks, and Australorps handle chilly spring mornings just fine. Avoid letting them out in heavy rain or strong winds.
What's the best time to buy chicks in spring?
Most hatcheries and feed stores start selling chicks in February through April. Ordering early (January or February) from hatcheries gives you the best breed selection. Feed stores like Tractor Supply typically have chicks starting in late February or March, but breed choices are more limited.
How do I stop a broody hen in spring?
The most effective method is placing the broody hen in a wire-bottom cage (like a dog crate) elevated on blocks for 3 to 4 days. Provide food and water but no bedding. The air circulation under the hen cools her body temperature and breaks the hormonal broody cycle. Check our guide on introducing new chickens if you'd rather let her hatch some eggs instead.
Spring is all about fresh starts, for your garden and your flock. Take a weekend to work through this checklist and you'll set your chickens up for a productive, healthy year. If you're just starting your chicken journey this spring, our complete beginner's guide has everything you need to get going.
Sources:
- •University of Kentucky Cooperative Extension. Small Flock Poultry. https://poultry.extension.org/
- •Penn State Extension. Backyard Poultry Resources. https://extension.psu.edu/animals/poultry
- •University of Florida IFAS. 4-H Poultry Project. https://edis.ifas.ufl.edu/
- •Cornell University Cooperative Extension. Small-flock Poultry. https://cals.cornell.edu/
Related Guides
Fall Chicken Care: 12 Steps to Prepare Your Flock for Winter
Complete fall chicken care checklist with 12 steps. Covers molting, coop prep, predator-proofing, feeding changes, and getting ready for cold weather.
Beginner GuidesSummer Chicken Care: How to Keep Your Flock Cool and Healthy
10 proven ways to keep chickens cool in summer heat. Covers water tips, shade, ventilation, frozen treats, and signs of heat stress to watch for.
Beginner GuidesChicken Brooder Setup: The Complete Guide for Baby Chicks
Set up a chicken brooder the right way: box options, brooder plate vs heat lamp, temperature chart, bedding, and space requirements for baby chicks.
Beginner GuidesHow Much Money Can You Make Selling Eggs? Real 2026 Math
Real profit numbers for selling backyard eggs: revenue and costs at 6 to 50 hens, 2026 prices by sales channel, and what actually eats your margin.