How to Build a Chicken Coop: Plans, Materials & Tips
Step-by-step guide to building your own backyard chicken coop. Covers sizing, materials, ventilation, predator-proofing, and common mistakes to avoid.
How to Build a Chicken Coop: Plans, Materials & Tips
Affiliate Disclosure: This article contains affiliate links to Amazon. If you buy something through these links, we earn a small commission at no extra cost to you. We only recommend products we genuinely think are worth your money. Full disclosure.
Building your own chicken coop is one of the most satisfying parts of getting into backyard chickens. You end up with something that fits your yard, fits your flock, and costs less than most pre-built options. Plus, you can customize it exactly the way you want.
The good news? You don't need to be a master carpenter. Plenty of first-time builders have put together solid, functional coops with basic tools and a weekend or two of work. One Reddit user on r/BackYardChickens put it perfectly: "I (63F) looked for free shed patterns online... I have never built anything beyond IKEA furniture, but I just looked at it like Lego instructions and just went a step at a time." (Source)
This guide walks you through everything: figuring out the right size, picking materials, building it step by step, and avoiding the mistakes that catch most beginners.
If building from scratch isn't your thing, check out our guide to the best chicken coops you can buy on Amazon instead.
Start with Size: How Big Should Your Coop Be?
This is the most common question, and getting it right saves you from having to rebuild later. "Chicken math" is real. Most people start with 3 or 4 birds and end up with 8 or 10 within a year.
Here are the space requirements recommended by university poultry programs:
Inside the coop (the enclosed shelter):
- •3 to 5 square feet per bird (University of Minnesota Extension recommends a minimum of 3 to 5 sq ft per bird indoors)
- •For standard-size breeds, aim for 4 square feet per bird
- •Bantam breeds can get by with 2 to 3 square feet each
In the run (the fenced outdoor area):
- •8 to 10 square feet per bird minimum
- •More is always better. Crowded chickens get stressed, pick at each other, and lay fewer eggs
Practical example: If you want 6 chickens, your coop should be at least 24 square feet inside (a 4x6 foot footprint works), with a run of at least 60 square feet. But plan for 8 to 10 birds. You'll thank yourself later.
Here's a smart tip from the r/BackYardChickens community: build in 8-foot increments, because that's the standard length lumber comes in. You'll waste less wood and spend less money. (Source)
Choosing a Location
Where you put your coop matters just as much as how you build it.
Pick a spot that has:
- •Partial shade. Full sun all day turns the coop into an oven in summer. A spot under a tree or near a building that gets morning sun and afternoon shade is ideal.
- •Good drainage. Low spots collect water and create muddy, smelly messes. Slightly elevated ground or a spot with a gentle slope works best.
- •Easy access from your house. You'll visit the coop at least twice a day. Put it somewhere convenient, not in the far back corner of your yard.
- •Distance from neighbors. Check your local setback requirements. Even if there's no legal minimum, keeping the coop away from property lines reduces complaints.
Oregon State University Extension also recommends building the coop close to your house or areas where people frequently go. Human activity naturally discourages predators like foxes and coyotes from hanging around (Source).
Materials You Will Need
You don't need anything exotic. A basic coop uses standard lumber, hardware cloth, and some roofing material. Here's a breakdown for a simple 4x8 foot coop (good for 6 to 8 chickens):
Lumber
- •2x4s for the frame (walls, roof supports, and floor joists)
- •2x2s or 2x3s for roosting bars
- •Plywood (1/2" or 3/4") for walls, floor, and nesting boxes
- •1x6 or 1x8 boards for trim and nesting box fronts
Buy pressure-treated lumber for anything touching the ground (floor joists, base frame). Use untreated lumber for everything else inside the coop, since chickens peck at things and you don't want them ingesting treated wood chemicals.
Pro tip: Buy in 8-foot lengths and plan your cuts around that. A 4x8 coop uses lumber efficiently with minimal waste.
Hardware Cloth (Not Chicken Wire)
This is the single most important material decision you'll make. Don't use chicken wire for predator protection. Chicken wire keeps chickens in, but raccoons, foxes, and even rats can tear through it or reach through the openings.
Use 1/2-inch galvanized hardware cloth for all windows, vents, and the run. The 1/2-inch mesh is small enough to keep out rats and snakes while being strong enough to stop raccoons.
For a basic coop and run, you'll need roughly 50 to 100 square feet of hardware cloth, depending on your design. A 36" x 100' roll gives you plenty for most builds.
Recommended: Thinkahead 1/2" Hardware Cloth, 19 Gauge, Hot-Dipped Galvanized - This galvanized mesh resists rust and holds up well against predators. The 19-gauge wire is sturdy without being impossible to cut with regular tin snips.
Roofing
- •Metal roofing panels are the most durable and long-lasting option
- •Asphalt shingles work well and match your house
- •Corrugated plastic panels let in light and are lightweight, but they degrade in UV over time
Slope the roof away from the front of the coop and away from nesting boxes. If you get snow, a steeper pitch (at least 4:12) helps it slide off. One experienced builder on Reddit specifically warned: "slope the roof away from the nest box, especially if you have snow." (Source)
Fasteners and Hardware
- •Deck screws (2.5" and 3") instead of nails. Screws hold better and are easier to fix if you make a mistake.
- •Heavy-duty hinges for doors and nesting box lids
- •Predator-proof latches. Raccoons can open simple hook latches. Use carabiner clips or two-step latches.
- •Staple gun and 1/2" staples for attaching hardware cloth (or use screws with fender washers for a more secure hold)
Essential Coop Features
A chicken coop doesn't need to be fancy. As one Redditor bluntly put it: "Chickens don't care. It just needs to be a big box with a couple nesting boxes, a roost, and a door." (Source)
That said, there are features that make a real difference for both the birds and for you:
Nesting Boxes
Oregon State University Extension recommends one nesting box for every four hens, with each box measuring about 12 inches deep, 12 inches wide, and 12 inches tall.
Place nesting boxes lower than your roosting bars. Chickens always want to sleep at the highest point, so if the nesting boxes are higher than the roosts, your hens will sleep in them and fill them with droppings.
The University of Maryland Extension suggests mounting boxes 18 to 20 inches off the floor for mature hens (Source). Adding a small lip across the front keeps bedding and eggs from rolling out.
Build the nesting boxes with a hinged lid that opens from outside the coop. This lets you collect eggs without going inside, which is a huge convenience, especially in bad weather.
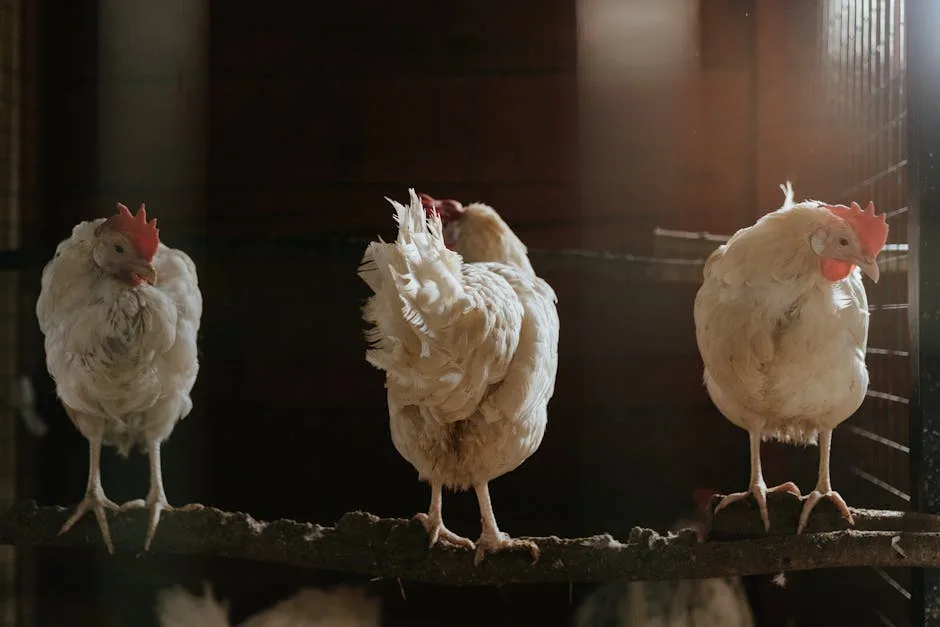
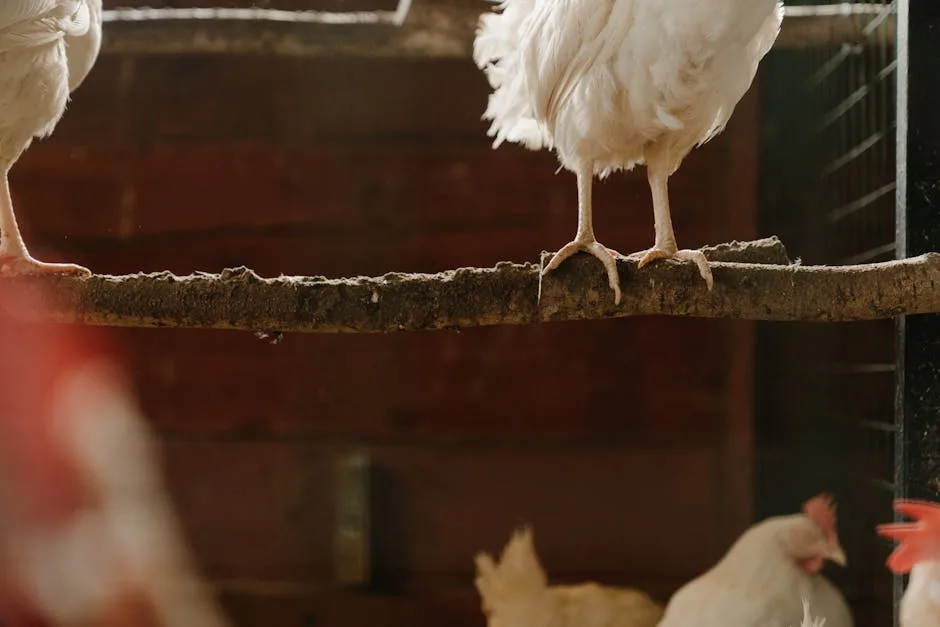
Roosting Bars
Chickens sleep on roosts, not on the floor. Each bird needs about 8 to 10 inches of roosting space.
- •Use 2x4 lumber laid flat (with the 4-inch side up). The wide, flat surface lets birds cover their toes with their body in cold weather, which prevents frostbite.
- •Place roosts higher than nesting boxes but not so high that heavy breeds have trouble getting up. Two to three feet off the ground works for most flocks.
- •If you have multiple roost bars, stagger them at slightly different heights and space them 12 to 18 inches apart so birds aren't directly above each other.
Ventilation
This is the feature most first-time builders get wrong. Your coop needs more ventilation than you think.
Poor ventilation traps moisture and ammonia from droppings. Moisture leads to frostbite in winter (wet air against combs and wattles is worse than cold dry air). Ammonia irritates lungs and can cause respiratory infections.
How to do it right:
- •Cut ventilation openings near the top of the walls, under the eaves. Hot, moist air rises, so high vents let it escape.
- •Cover all openings with hardware cloth to keep predators out.
- •Aim for at least 1 square foot of ventilation per bird, though more is better.
- •In cold climates, make some vents closeable so you can reduce airflow (but never seal it completely) during extreme cold.
The goal is fresh air without drafts. Air moving gently above the birds is fine. Cold wind blowing directly on roosting chickens is not.
The Pop Door
The pop door is the small chicken-sized door that connects the coop to the run. It only needs to be about 12 inches wide by 14 inches tall for standard breeds.
Place it a few inches off the floor to keep bedding from spilling out. Add a small ramp with horizontal slats for traction so the chickens can walk up and down easily.
If predators are a concern (and they should be), consider an automatic chicken coop door. These open at dawn and close at dusk, so you never have to worry about forgetting to lock up at night. They range from $50 to $150 and are one of the best quality-of-life upgrades you can add.
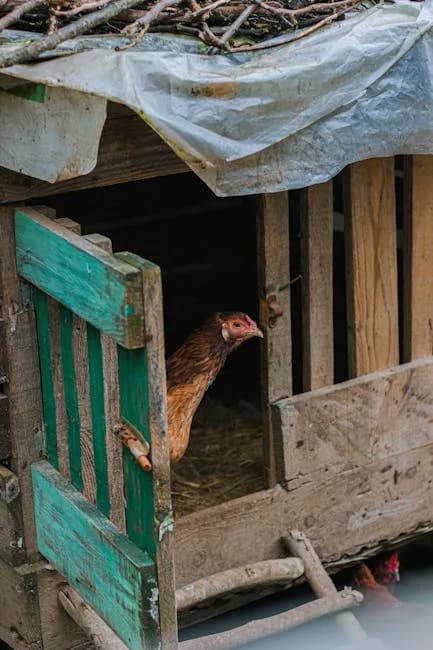
A Human-Size Door
You need to get inside the coop for cleaning, health checks, and the occasional chicken wrangling. Build a door large enough for you to walk through comfortably, or at minimum, one large enough to reach every corner.
If your coop is a walk-in design (highly recommended for 6+ birds), a standard-width door works great. For smaller coops, a large access panel on the back wall does the job.
Predator-Proofing: Do Not Skip This
Predators are the number one cause of chicken loss for backyard flocks. Raccoons, foxes, hawks, snakes, rats, opossums, neighborhood dogs, and even weasels all want a piece of your flock.
Here's how to lock them out:
The Walls and Windows
- •Use 1/2-inch hardware cloth on all openings. No exceptions.
- •Secure hardware cloth with screws and fender washers, not just staples. Raccoons are strong and can pull stapled mesh away from the frame.
The Floor
If your coop is elevated, cover the bottom with hardware cloth so nothing can climb in from underneath. If it sits on the ground, consider a hardware cloth floor under your bedding.
Underground Protection
Digging predators (foxes, dogs, rats) will try to tunnel under your walls. You have two options:
- •Bury hardware cloth 12 to 18 inches deep around the perimeter of the coop and run
- •Create an apron: Lay hardware cloth flat on the ground, extending 18 to 24 inches outward from the base of your walls, and cover it with soil or gravel. When a predator tries to dig at the base of the wall, they hit the mesh and give up.
Oregon State University Extension recommends burying fencing 6 inches to 1 foot into the ground and adding a motion-detector light outside the coop for extra protection (Source).
The Run Roof
Hawks and owls attack from above. Cover your run with hardware cloth, welded wire, or bird netting. Hardware cloth is the most secure, but netting works for aerial predators at a lower cost.
Latches
Raccoons have dexterous paws and can open simple hook-and-eye latches. Use two-step latches (like a carabiner clip or a barrel bolt with a cotter pin) on every door and opening.
Step-by-Step Build Overview
Here's a simplified build sequence for a basic 4x8 foot elevated coop with an attached run:
1. Build the Floor Frame
- •Cut four 2x4s for the base rectangle (two 8-foot pieces and two 4-foot pieces)
- •Add floor joists every 16 inches
- •Attach legs (24 to 30 inches tall) to raise the coop off the ground
- •Screw down plywood flooring
2. Frame the Walls
- •Build each wall frame flat on the ground, then raise it into position
- •The front wall should be taller than the back wall to create roof slope
- •Frame in openings for the human door, pop door, nesting box access, and ventilation
3. Sheathe the Walls
- •Attach plywood to the outside of the wall frames
- •Leave ventilation openings at the top
- •Cover vents with hardware cloth before sheathing
4. Build and Install the Roof
- •Attach roof rafters to the top of the wall frames
- •Add plywood decking
- •Install your roofing material (metal, shingles, or corrugated panels)
- •Add a small overhang to direct rainwater away from the walls
5. Install Interior Features
- •Mount nesting boxes (accessible from outside via hinged lid)
- •Install roosting bars
- •Add the pop door with a ramp
6. Build the Run
- •Frame the run using 2x4s or 4x4 posts
- •Wrap all sides and the top with hardware cloth
- •Bury hardware cloth or create an apron around the perimeter
- •Add a human-access door to the run
7. Finishing Touches
- •Paint or stain the exterior (use exterior-grade, non-toxic paint)
- •Add bedding (pine shavings work great, see our guide on chicken coop bedding choices when it's published)
- •Install latches on all doors
- •Give everything a good shake and pull to test for weak spots
What About a Floor? The Great Debate
Some builders skip the floor entirely and let the coop sit on bare ground or a gravel pad. Others insist on a solid floor. Both approaches work, but here is the tradeoff:
Solid floor (recommended for most):
- •Keeps out burrowing predators
- •Easier to clean (scrape and sweep)
- •Keeps bedding dry
- •Requires occasional checks for rot if wood contacts moisture
No floor / ground contact:
- •Cheaper and simpler to build
- •Natural drainage
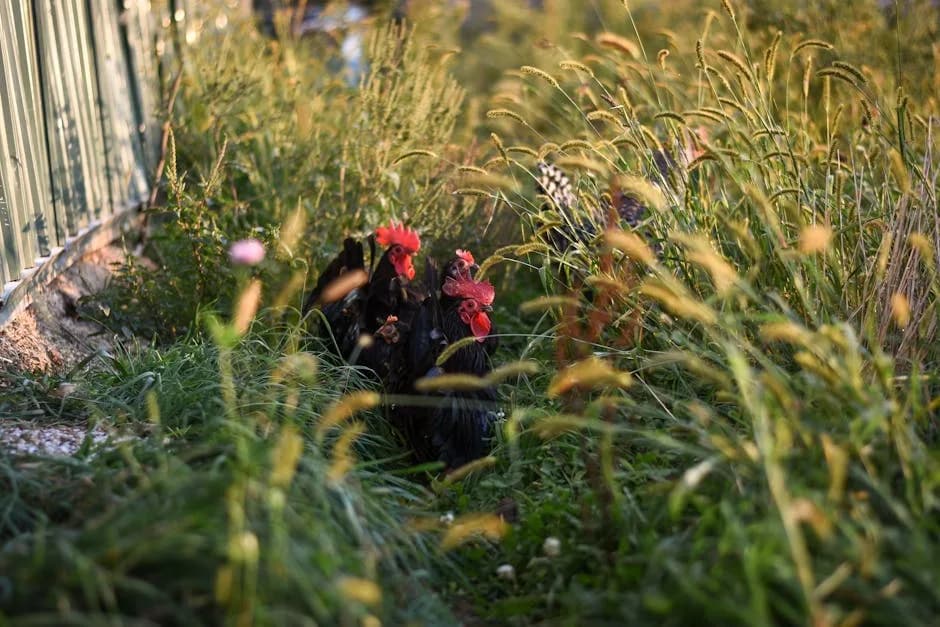
- •Chickens can scratch in the dirt
- •Higher predator risk. You must bury hardware cloth around the perimeter.
If you go with a solid floor, elevate the coop at least 18 to 24 inches off the ground. This prevents rot, gives your chickens shaded space underneath to hang out in hot weather, and makes it harder for rodents to nest under the coop.
Common Mistakes to Avoid
After reading through hundreds of Reddit posts and talking to experienced chicken keepers, these are the mistakes that come up again and again:
Building too small. Plan for more chickens than you think you'll have. Seriously.
Using chicken wire for predator protection. It doesn't work. Use hardware cloth. Every experienced chicken keeper will tell you the same thing.
Not enough ventilation. This is the most underrated mistake. A tight, sealed coop feels "safe" but actually makes your chickens sick. Moisture and ammonia need somewhere to go.
Putting food and water inside the coop. Several experienced keepers on Reddit specifically advise against this. Food inside the coop attracts rodents. Water inside creates moisture problems. Keep both in the run instead.
Forgetting about cleaning access. If you can't easily get inside to scrape out old bedding and droppings, you'll put off cleaning. And a dirty coop leads to mites, ammonia buildup, and sick birds. Make the human door big and the floor easy to access.
Skipping the predator apron. Burying hardware cloth or laying an apron is tedious work. But it's the difference between waking up to happy chickens or finding a disaster. Do it right the first time.
Cost Breakdown
Building your own coop is almost always cheaper than buying a quality pre-built one. Here's a rough budget for a 4x8 coop with an attached 8x12 run:
| Item | Estimated Cost |
|---|---|
| Lumber (2x4s, plywood, trim) | $150 - $250 |
| Hardware cloth (1/2", 100 ft roll) | $60 - $100 |
| Roofing material | $30 - $60 |
| Screws, hinges, latches | $30 - $50 |
| Paint or stain | $20 - $40 |
| Total | $290 - $500 |
Compare that to a quality pre-built coop for 6 to 8 chickens, which runs $400 to $800+ on Amazon (and most still need hardware cloth upgrades). You save money and get a sturdier result.
If budget is tight, watch for free or cheap lumber on Facebook Marketplace and Craigslist. Old pallets, leftover fence boards, and reclaimed wood can cut your material costs significantly.
Tools You Will Need
You don't need a workshop full of power tools. Here's the minimum:
- •Circular saw (or a hand saw, just slower)
- •Drill/driver with bits for screws
- •Tape measure
- •Speed square
- •Level
- •Tin snips for cutting hardware cloth
- •Staple gun (heavy duty)
- •Safety glasses and gloves (hardware cloth edges are sharp)
If you don't own these, see if your local hardware store has a tool rental program. Many Home Depot and Lowe's locations rent saws and drills for reasonable daily rates.
Making It Easy to Maintain
A coop that's easy to clean is a coop you'll actually keep clean. Design with maintenance in mind:
- •Poop boards under roosts: A flat board or old baking sheet under your roosting bars catches most of the droppings. Scrape it off every morning. Takes 30 seconds and keeps the bedding cleaner much longer.
- •Removable or hinged roost bars: Makes deep cleaning easier.
- •Smooth interior surfaces: Sand or seal plywood surfaces so droppings don't stick and mites have fewer places to hide.
- •Grade the ground around the coop. Make sure water drains away from the coop, not toward it. As one Reddit builder advised: "If the chicken poo stays wet, it will become anaerobic and stink. Grade everything and add a gravel/sand base." (Source)
Should You Use Free Plans or Design Your Own?
Both work. Free coop plans are all over the internet, and they give you a starting point, especially if you have never built anything before. Look for plans from university extension services, which tend to be practical and well-tested.
But honestly, a chicken coop is just a box with some features inside. Once you know the space requirements and essential features (which you now do), you can sketch something on graph paper and start building. Many experienced builders on Reddit say the same thing: don't overthink it.
If you want the simplest possible approach, think of it as building a small shed. Find a free shed plan in the size you need, then add nesting boxes, roosts, ventilation, and a pop door.
Wrapping Up
Building a chicken coop is a weekend project that pays off for years. Your chickens don't need anything fancy. They need enough space, protection from predators, good ventilation, a place to roost, and a place to lay eggs. Everything else is bonus.
Start bigger than you think you need (chicken math is coming for you), use hardware cloth instead of chicken wire, and design for easy cleaning. Follow those three rules and you'll be in great shape.
Frequently Asked Questions
How much does it cost to build a chicken coop?
A basic DIY coop for 4 to 6 chickens runs $200 to $500 in materials. Using reclaimed lumber, pallets, or a converted shed can cut that in half. Prefab coops cost $300 to $800 but save time. The biggest expense is usually hardware cloth and roofing materials.
How much space do chickens need in a coop?
Plan for 4 square feet per chicken inside the coop and 8 to 10 square feet per bird in the outdoor run. Bantams can get by with less. Overcrowding causes stress, pecking, and health problems, so always err on the side of building bigger than you think you need.
Do chicken coops need insulation?
In most climates, no. Chickens handle cold weather well as long as the coop is dry and draft-free with good ventilation. Insulation matters more in extreme northern climates where temps regularly drop below zero. Ventilation is actually more important than insulation for preventing frostbite.
What's the best flooring for a chicken coop?
Plywood or OSB with a coat of paint or sealant works great. It's easy to clean and holds up well with deep litter. Some people use linoleum over plywood for even easier cleanup. Avoid bare dirt floors in the coop since they attract rats and make cleaning harder.
How high should roosting bars be?
About 2 to 4 feet off the ground works for most breeds. Heavy breeds like Orpingtons do better with lower roosts since jumping down from high perches can hurt their legs. Space bars 12 to 18 inches apart and make them at least 8 inches per bird wide.
Ready to stock your coop? Check out our guide to the best chicken breeds for beginners or our complete beginner's guide to raising backyard chickens if you're still in the planning stage.
Related Guides
Best Chicken Coop Cameras 2026: 5 Top Picks
Top 5 chicken coop cameras for 2026 compared. WiFi, solar, battery, and wired options with night vision to monitor your flock and catch predators.
Gear ReviewsBest Automatic Chicken Coop Doors 2026: 7 Worth Buying
Automatic coop doors that close before predators come out. The 7 best in 2026 across price tiers, including the safety flaw each one has.
Gear ReviewsHow Big Should My Chicken Coop Be? (Sizing Guide)
A practical chicken coop sizing guide based on flock size, climate, and breed. Includes a sizing table, rules of thumb, and common mistakes to avoid.
Gear ReviewsAivituvin vs OverEZ: Which Chicken Coop Wins (2026)
A side-by-side comparison of Aivituvin and OverEZ chicken coops: build quality, capacity, price, warranty, and which one is right for your flock.